Here at Torta Magica, we believe dessert should always be a moment of pure joy, and this no-bake mascarpone cheesecake delivers just that without any fuss. It's a testament to Italian ingenuity, taking the beloved richness of mascarpone and transforming it into a light, ethereal dessert that requires no oven time at all. This recipe is perfect for those warmer days or when you simply crave something divine with minimal effort.
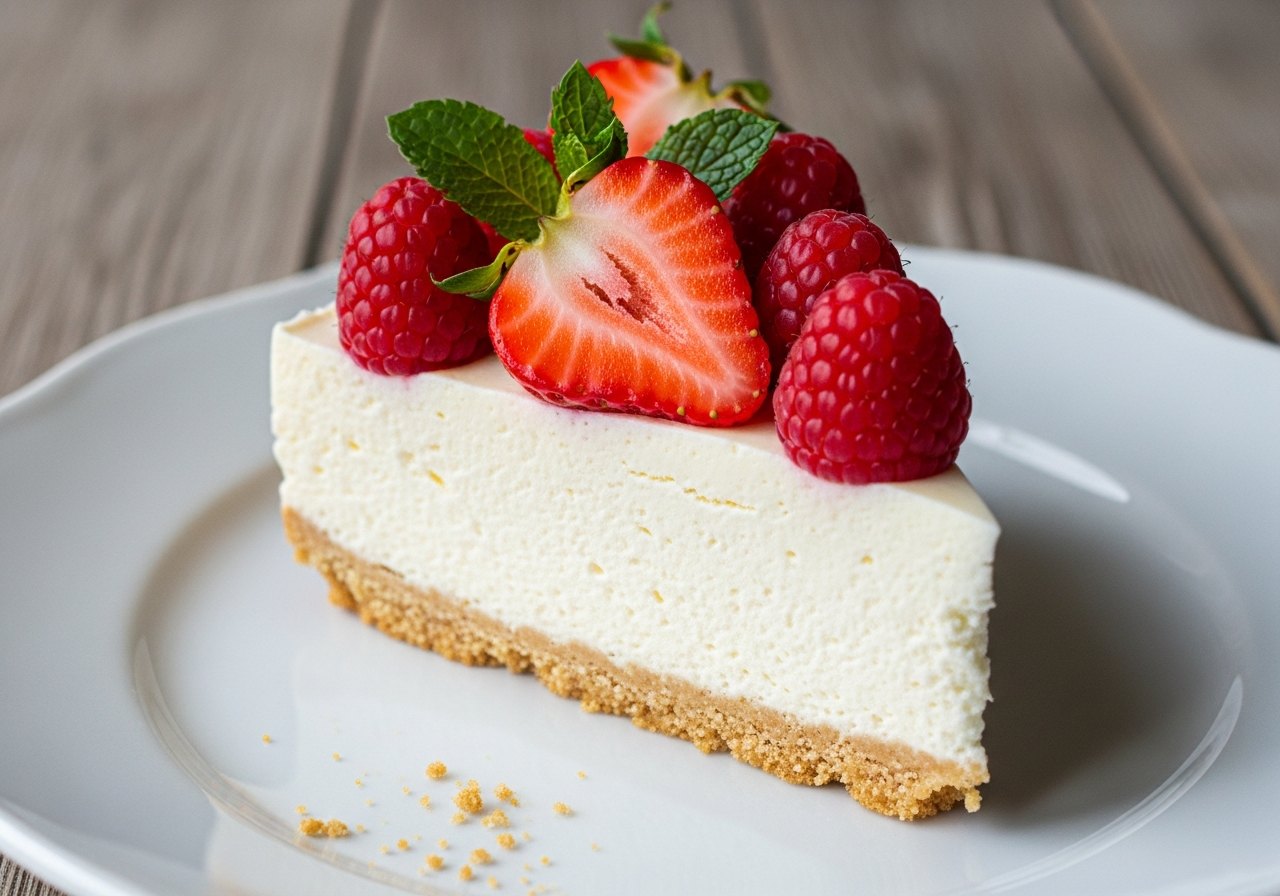
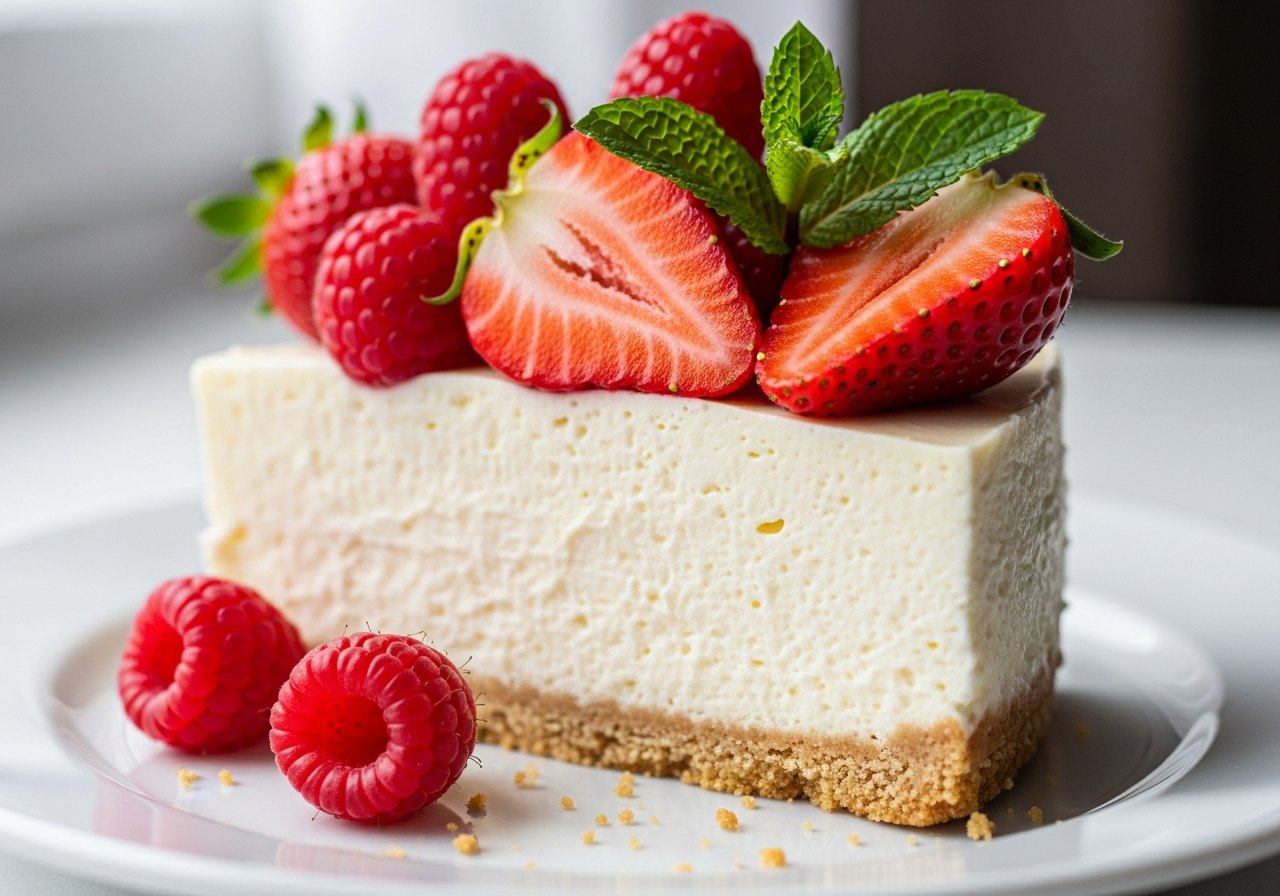
Unlike its denser American cousins, our Italian version focuses on the delicate balance and superior quality of its star ingredient: mascarpone. This sweet, buttery cheese provides an unparalleled creaminess and subtle tang that elevates the cheesecake to a truly sophisticated level. Paired with a simple biscuit base and fresh berries, it's a dessert that feels both indulgent and refreshingly light, truly a magical experience for the palate.
The Magic of Mascarpone
Mascarpone cheese is the heart and soul of this cheesecake, offering a richness and velvety texture that simply cannot be replicated by standard cream cheese. Hailing from the Lombardy region of Italy, this exquisitely soft, ivory-coloured cheese is made from coagulating cream with tartaric acid, resulting in a high fat content that contributes to its luxurious mouthfeel and sweet, milky flavour profile.
Its unique characteristics make it incredibly versatile in Italian patisserie, famously starring in Tiramisu, but also lending itself beautifully to fruit tarts, fillings, and, of course, this elegant no-bake cheesecake. The key is to handle it gently, ensuring it's at room temperature before mixing to achieve a perfectly smooth, lump-free filling that sets beautifully in the refrigerator.
Mastering the No-Bake Technique
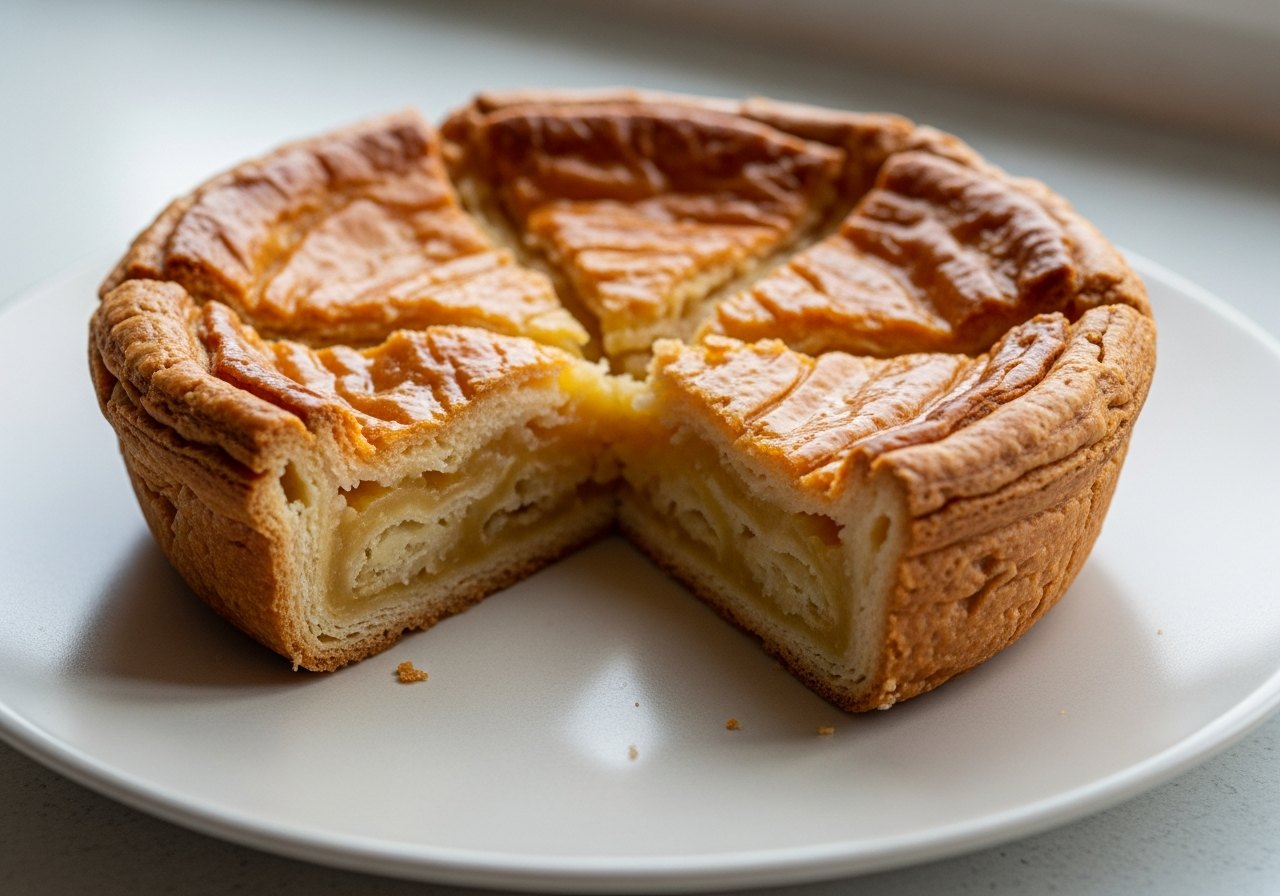
The beauty of a no-bake cheesecake lies in its simplicity, making it accessible even for novice bakers. However, achieving that perfect, firm-yet-creamy consistency requires a few crucial steps. The foundation is a well-compacted biscuit base; ensure your crushed biscuits are thoroughly combined with melted butter and pressed firmly into the tin to prevent crumbling when sliced.
For the filling, the secret is in the gentle aeration and proper chilling. Whipping the double cream to soft peaks before folding in the mascarpone ensures a light, airy texture. Avoid over-mixing the mascarpone, as this can cause it to separate. A minimum of four hours in the refrigerator is essential, allowing the fats to firm up and the flavours to meld, resulting in a sliceable, wonderfully set cheesecake.
Making a Perfect Biscuit Base
The foundation of any great no-bake cheesecake is a solid and flavourful biscuit base. For this recipe, digestive biscuits are ideal due to their slightly sweet, malty flavour and crumbly texture when crushed. Ensure you crush them finely; a food processor works best for an even consistency, but a rolling pin and a sturdy bag will also do the trick.
Once crushed, mix the biscuit crumbs thoroughly with melted unsalted butter. The butter acts as the binding agent, creating a stable base. Press this mixture firmly and evenly into the bottom of your springform tin, using the back of a spoon or your knuckles. Chilling the base for at least 15 minutes before adding the filling will help it set even more firmly.
Achieving the Dreamy Creamy Filling
The filling is where the mascarpone truly shines, delivering that signature Italian richness. The key to its dreamy texture is to ensure your mascarpone is at room temperature before you begin. This makes it easier to combine smoothly with the other ingredients, preventing lumps and ensuring a homogenous, velvety consistency.
When whipping the double cream, aim for soft peaks – it should hold its shape but still be light and airy. Gently fold the mascarpone into the whipped cream, along with the icing sugar and vanilla extract. Over-mixing can cause the mascarpone to split, so stop as soon as the mixture is just combined and smooth. This careful technique will result in a light, luscious filling that sets beautifully.
Nonna's tip
Ensure your mascarpone is at room temperature for a truly smooth, lump-free filling. Over-whipping can separate the cream, so stop as soon as it's combined and thickened.