From the sun-drenched kitchens of Italy comes the Crostata di Pinoli, a beloved tart that embodies simple elegance and rich flavour. This traditional dessert, often found gracing the tables of Italian homes and bakeries, is a testament to the beauty of quality ingredients and time-honoured techniques. While variations exist across regions, the essence remains: a tender shortcrust pastry embracing a sweet, fragrant filling crowned with golden pine nuts.
Making this crostata is a meditative experience, a gentle dance between flour, butter, and the aromatic promise of lemon zest. The result is a dessert that feels both rustic and refined, perfect alongside a strong espresso or a delicate cup of tea. It's a taste of Italian comfort, a sweet whisper of tradition that brings warmth and joy with every delicate bite.
The Art of Pasta Frolla
At the heart of any good crostata lies the pasta frolla, or Italian shortcrust pastry. Unlike some pastry doughs, pasta frolla is meant to be tender and slightly crumbly, not flaky. The key to achieving this perfect texture is to work the butter into the flour quickly and lightly, ensuring it remains cold. This prevents the gluten from developing too much, which can lead to a tough crust.
Once the dough comes together, it's crucial to resist the urge to over-knead it. A brief chill in the refrigerator allows the gluten to relax and the butter to firm up, making the dough easier to roll out and preventing shrinkage during baking. This step is non-negotiable for a beautifully crisp and melt-in-your-mouth crust.
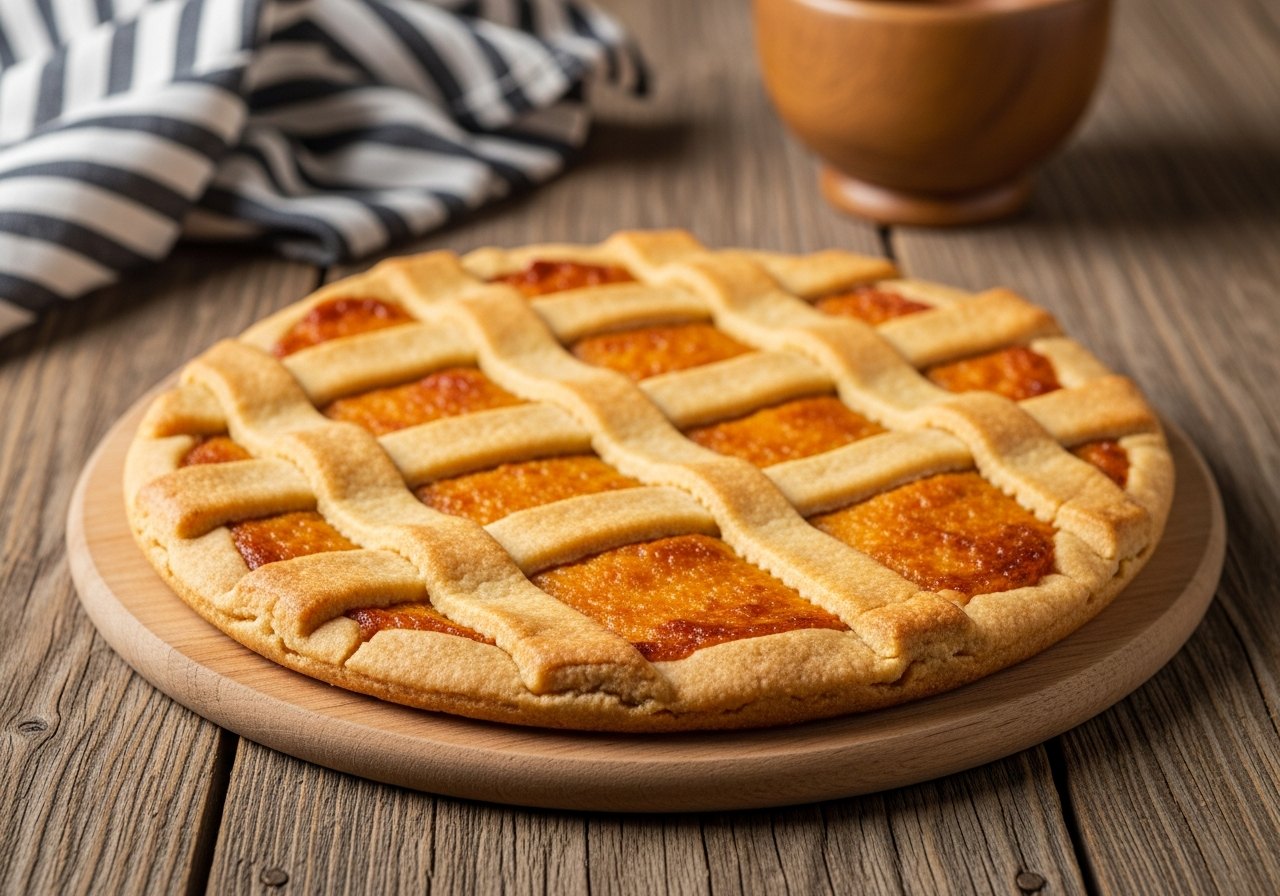
Perfecting the Pine Nut Topping
The pine nuts (pinoli) are not just a garnish; they are an integral part of this crostata's character, offering a delicate crunch and a distinct, nutty flavour that complements the sweet filling. For the best results, always use high-quality pine nuts. While some recipes suggest toasting them before baking, I prefer to scatter them raw over the filling, allowing them to toast gently in the oven, infusing the tart with their aroma.
Arranging the pine nuts evenly ensures each slice gets a generous scattering and they toast uniformly. Keep a watchful eye on them during the final stages of baking, as they can go from golden to burnt very quickly. If they start to brown too fast, a loose tent of foil can protect them while the rest of the tart finishes baking.
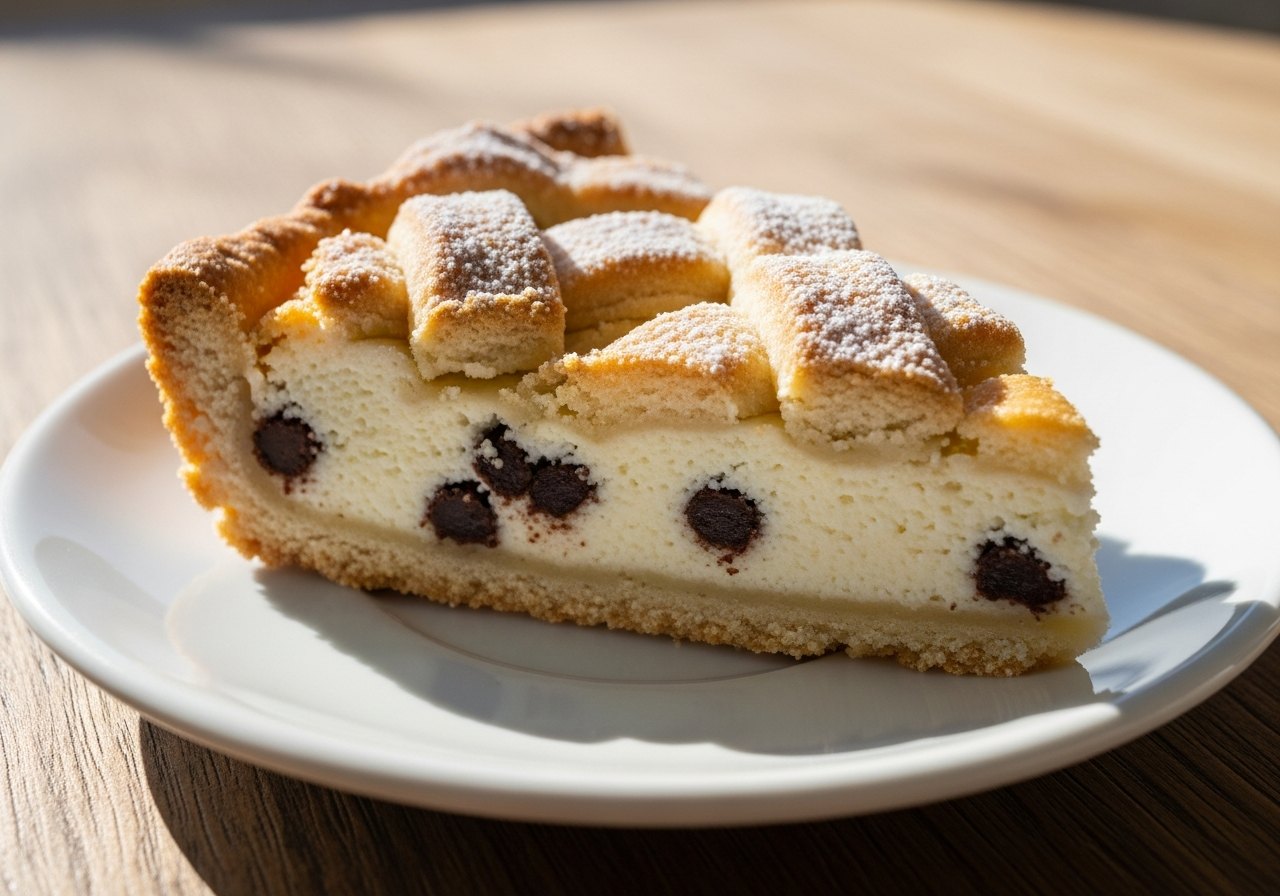
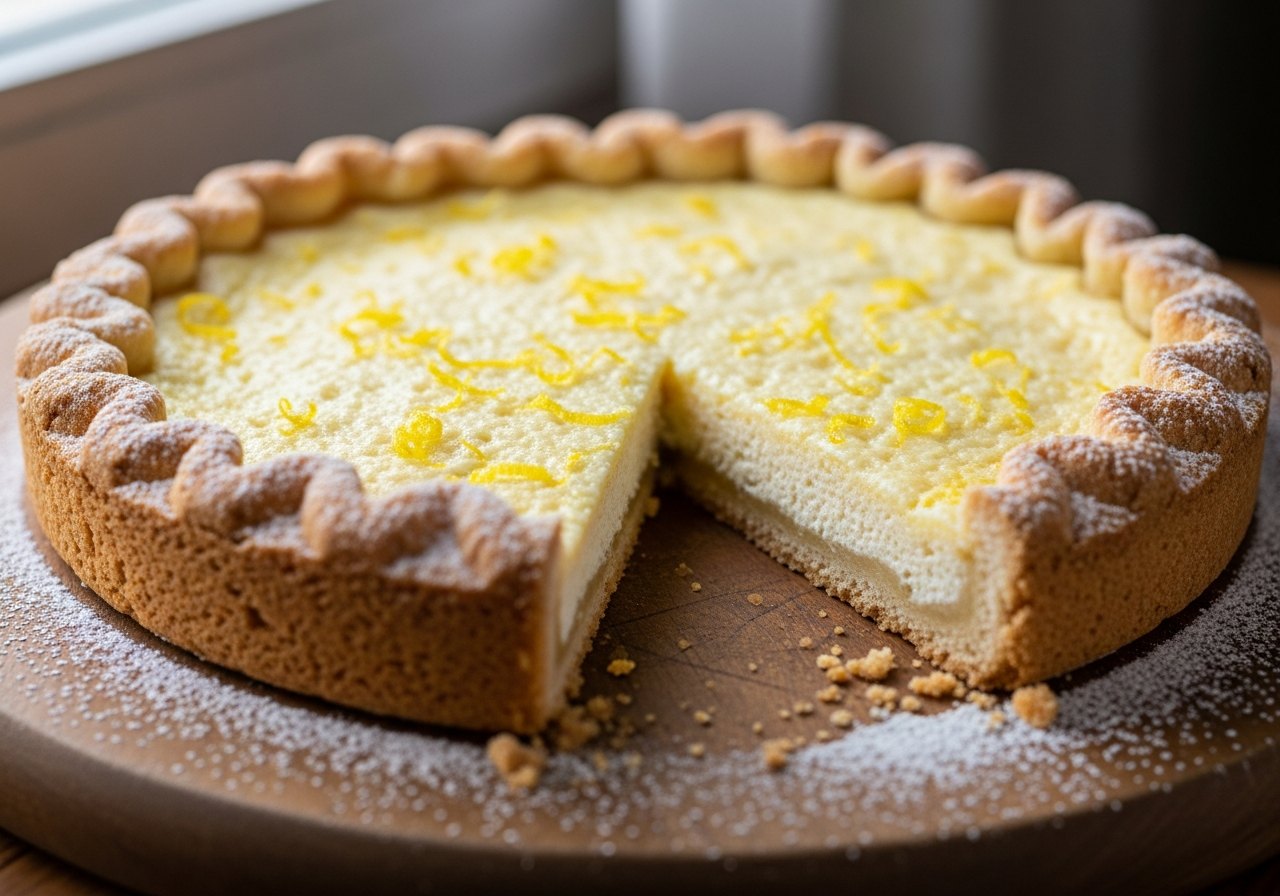
Ricotta Filling Variations
While a classic Crostata di Pinoli often features a simple ricotta and sugar filling, you can gently adapt it to your taste. A touch of finely grated lemon zest brightens the flavour beautifully, cutting through the richness. Some traditional recipes also include a hint of vanilla or a splash of rum for added complexity, though these are optional.
Ensure your ricotta is well-drained to prevent a watery filling that could make the pastry soggy. If your ricotta seems too wet, pressing it gently in a fine-mesh sieve or placing it in a cheesecloth-lined colander for 30 minutes can make all the difference. The goal is a creamy, firm filling that sets perfectly.
Nonna's tip
For an extra crisp base, blind bake the pastry shell fully before adding the filling. This prevents a soggy bottom and ensures a perfect texture that holds up beautifully.