From the heart of Verona, the Torta di Rose, or 'Rose Cake', is a culinary poem, a beloved staple of Italian pastry that captivates with its enchanting appearance and tender crumb. It's not just a cake; it's a bouquet of sweet, yeast-leavened roses, each petal unravelling to reveal a delicate, buttery sweetness that melts in your mouth. This masterpiece is often reserved for special occasions, gracing tables during family gatherings and festive celebrations, making every moment feel a little more magical.
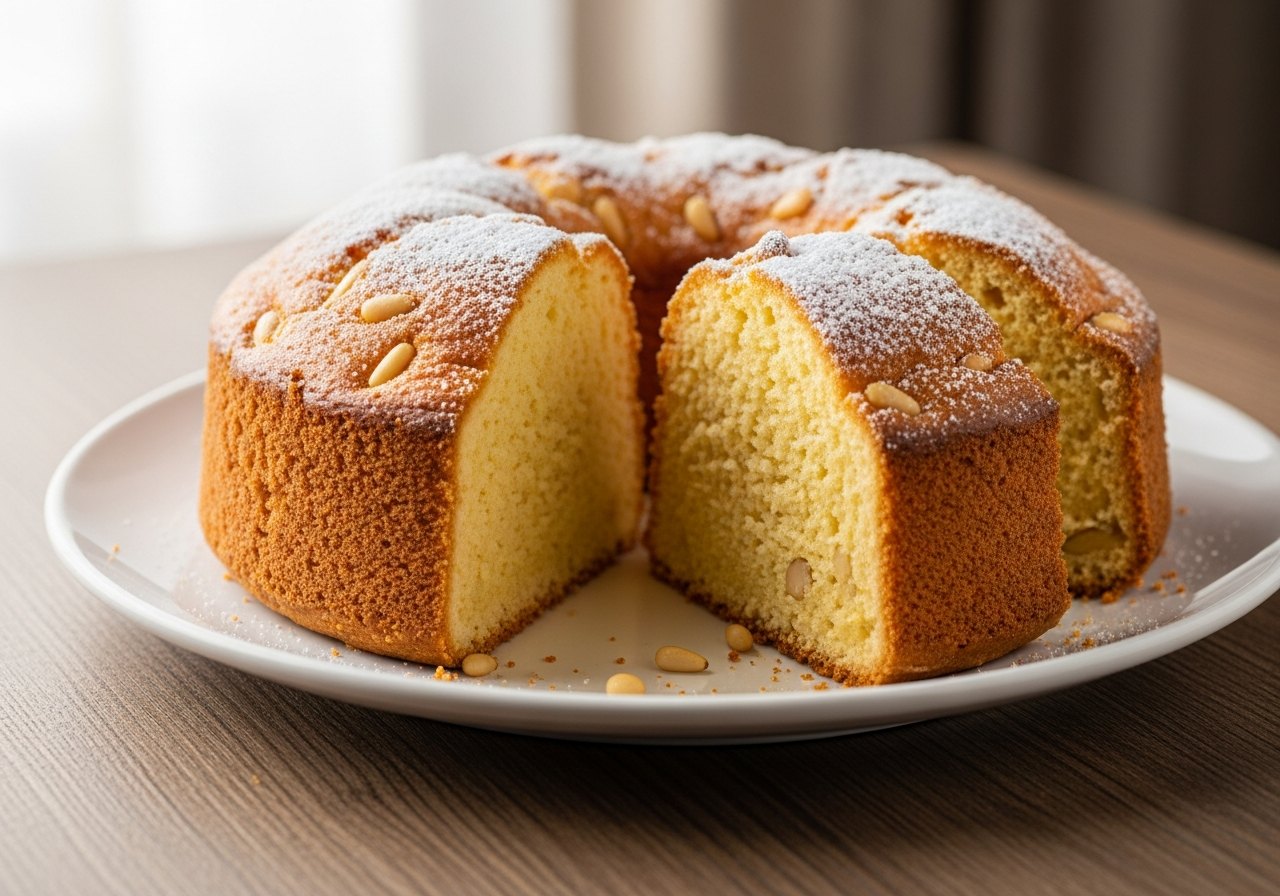
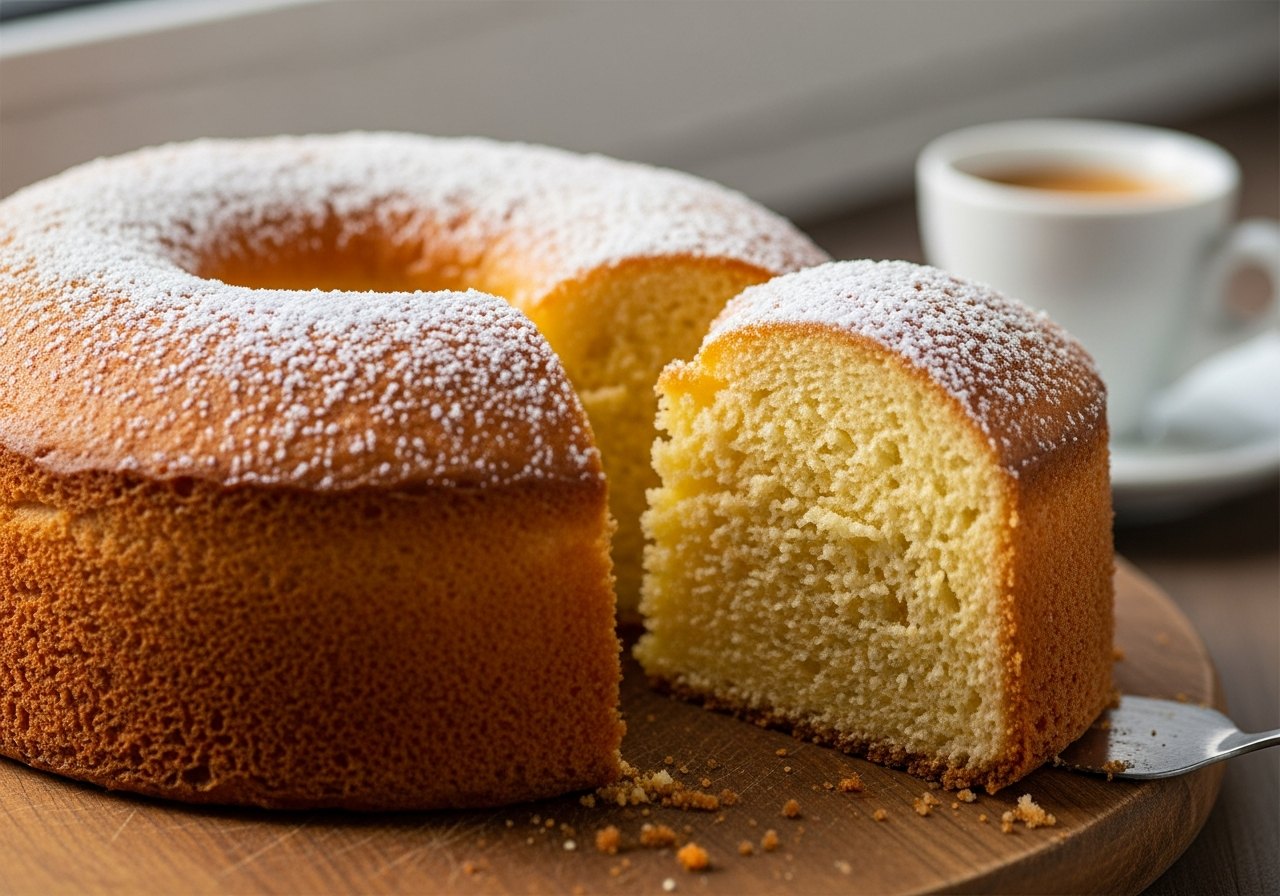
What truly sets Torta di Rose apart is its sublime texture: a brioche-like dough, enriched with butter and eggs, that remains incredibly soft and pillowy even days after baking. The simple yet effective filling of butter and sugar caramelises slightly as it bakes, creating pockets of rich flavour within the fluffy dough. Whether served warm from the oven for breakfast or as an elegant dessert with a dusting of icing sugar, its charm is irresistible and its preparation a joyful journey into Italian baking tradition.
Mastering the Enriched Dough
The secret to a truly outstanding Torta di Rose lies in the enriched dough. Unlike a lean bread dough, this recipe calls for eggs, milk, and a generous amount of butter, which contribute to its characteristic softness, richness, and golden hue. Proper kneading is paramount; it develops the gluten structure, allowing the dough to rise beautifully and achieve that coveted airy texture. Resist the urge to add too much flour during kneading, as a slightly sticky dough will yield a much more tender result.
Allowing sufficient time for the two rises is equally crucial. The first bulk fermentation gives the yeast ample opportunity to work its magic, developing flavour and strength. The second proof, after the roses are formed, ensures the individual pieces are light and fluffy before baking, preventing a dense crumb. A warm, draught-free environment is ideal for both stages, encouraging a healthy and vigorous rise.

The Art of Forming the Roses
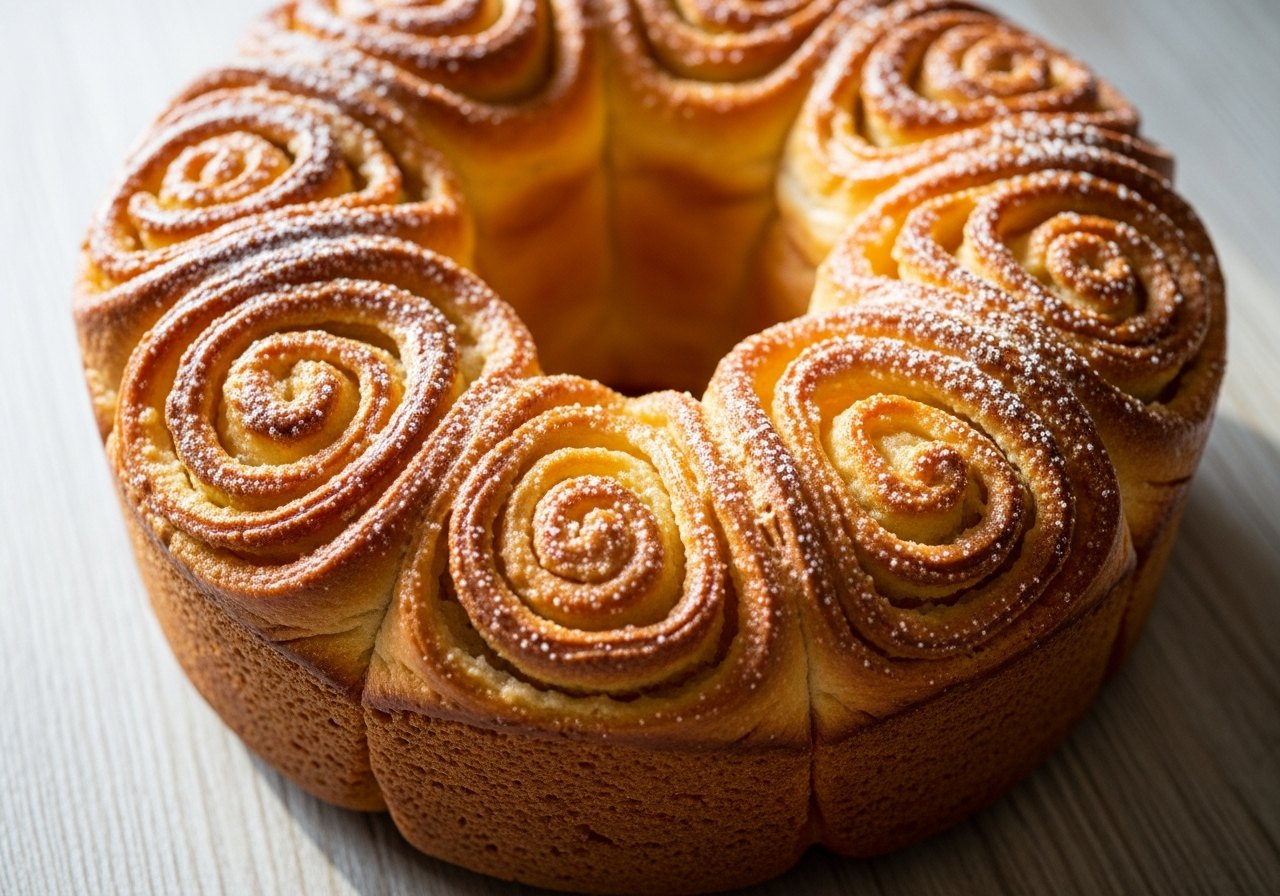
The signature 'rose' shape is not only beautiful but also functional, creating delightful pockets of buttery sweetness. Once your dough has had its first rise and is beautifully pliable, rolling it into a large, thin rectangle is the first step. Aim for an even thickness to ensure uniform baking. The filling – a simple yet decadent mixture of softened butter and sugar, often enhanced with a touch of lemon zest for brightness – should be spread generously right to the edges.
Carefully rolling the dough into a tight log is key to achieving well-defined spirals. After rolling, slicing the log into individual rounds and arranging them snugly in your baking tin transforms them into a blooming bouquet. Don't worry if they don't look perfectly uniform; their rustic charm is part of the appeal. As they rise for a second time, they will expand and fuse together, creating that stunning pull-apart cake.
Nonna's tip
To ensure your dough rises perfectly, place it in a bowl covered with a clean tea towel in a switched-off oven with the light on. The gentle warmth from the oven light creates an ideal environment for yeast activity.